Customizing your email templates in Slotify allows you to create professional, branded communications that enhance your clients’ experience.
From appointment confirmations to follow-up emails, each message can reflect your unique brand identity, building trust and recognition with your clients.
Here’s a step-by-step guide on how to create custom email templates in Slotify.
Why Use Custom Email Templates in Slotify?
With Slotify’s custom email templates, you can:
- Enhance Client Communication: Personalize each email so clients receive clear, consistent messages.
- Reinforce Brand Identity: Add brand colors, logos, and tone to your emails for a cohesive look.
- Automate Key Interactions: Automatically send branded emails for appointment confirmations, reminders, and follow-ups without manual intervention.
Accessing the Email Template Editor in Slotify
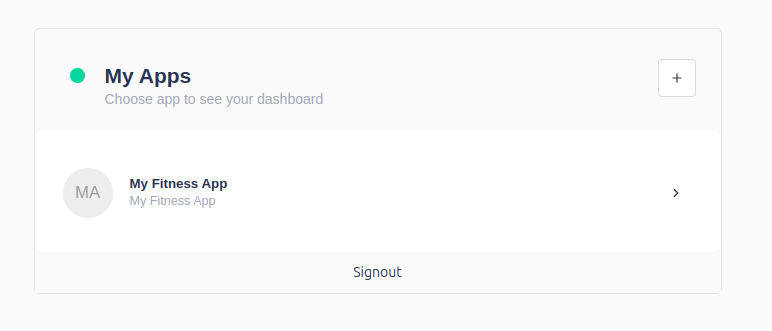
- Login to Slotify using login url: https://app.slotify.ca
- Select your app from the list.

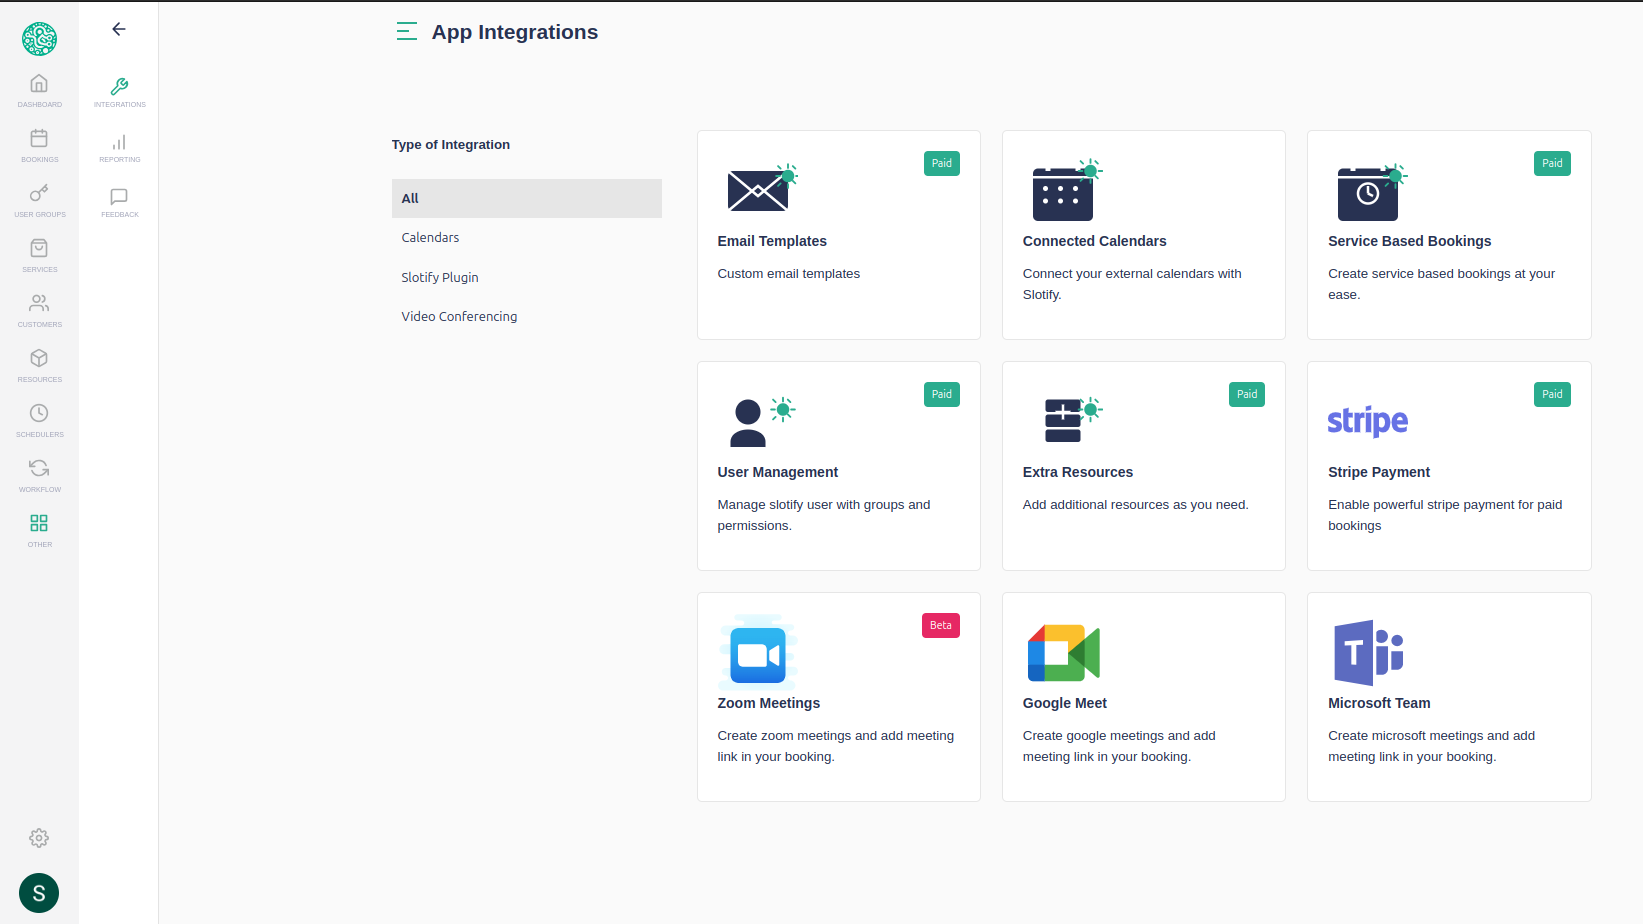
- Click on Other -> Integration menu item from left sidebar.
- Click on Email Templates integration card from the integration page.

- Once you click on the card it will open up a Email Template integration page. You can read through the integration page and when decide to enable this integration click on Enable Integration button.

- Once you enable this integration a new menu item will appear under Other -> Email Templates
- Click on this new menu item and edit the email template you like to modify. Once changes are done click save and your new email template will now work for you upcoming bookings.