The Slotify Scheduler helps you manage event-related settings, booking configurations, and availability. This guide will walk you through setting up Scheduler, configuring resources, and defining booking constraints to ensure smooth and organized scheduling.
Step by Step to create scheduler in Slotify:
- Go to Slotify's login page: https://app.slotify.ca/login
- Sign in with your Google or Microsoft or Slotify account.
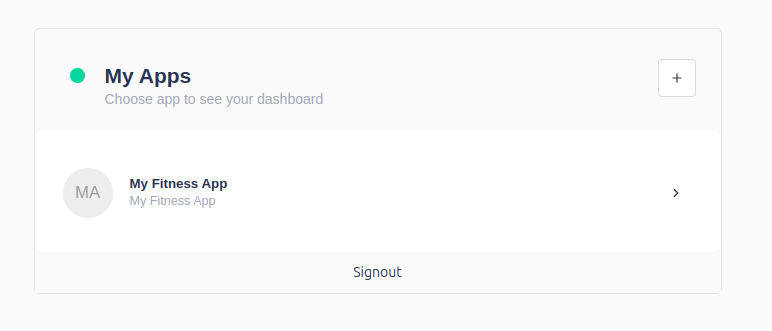
- When you log in it asks you to select your app. If you have multiple apps choose appropriate app.

- Once you select the app it will take you to Calendar page where you can see all your events or bookings. Click on Schedulers icon in your left sidebar menu item.

- Click on Add Scheduler button on Scheduler page on top right corner.
- If you do not have Resources it will first ask you to create Resources.

- Click on Create Resource button and follow the instruction. Once Resource is created come back to Scheduler page by clicking Scheduler menu icon.
- Now, fill all necessary details asked when creating Scheduler and finish creating Scheduler.

- Once you are done creating Scheduler with minimal info you can either edit Scheduler for more settings or click on Back to Schedulers button to land on home page of Scheduler list.
- You can than copy your Booking link from the Scheduler list page and start booking.

Conclusion
With Scheduler setup complete, your Slotify account is now tailored for efficient bookings, allowing clients to view availability and reserve appointments easily. Adjust settings anytime to optimize your scheduling further.